
For location of setup menu, see step 1 under “Adding geofences.”
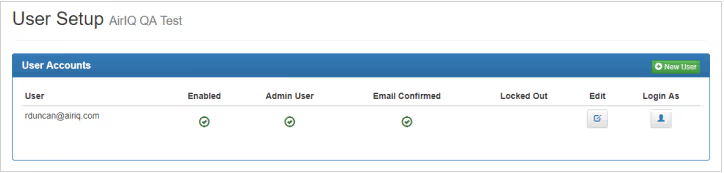
You will see all of the current users in your company (as shown below):

The User Email and Permissions box will appear with all of the available options (shown below):
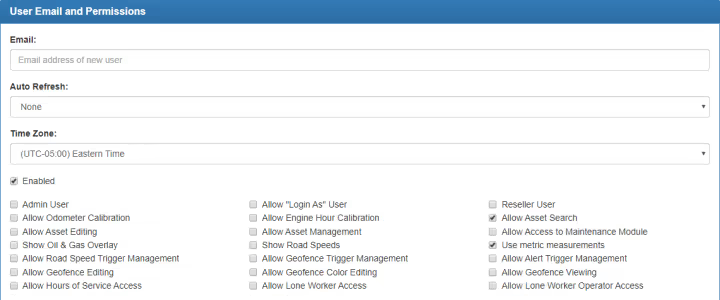
Enter the user’s email (which they will use to log in) and begin to set permissions for your user. You can select various general permissions under the “User Email and Permissions” box as shown above.
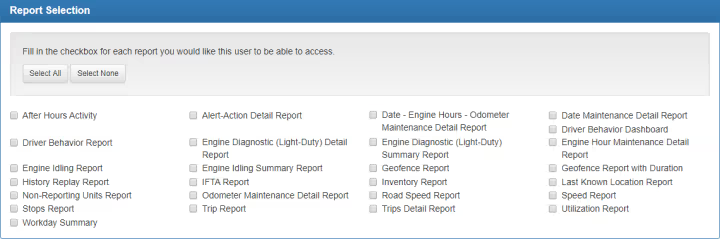
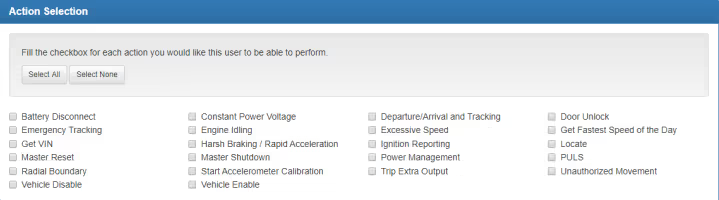
You can also choose the specific reports and actions your user(s) can access by scrolling down to the “Report Selection” and “Action Selection” boxes respectively:
Upon completion of the form, select “Save” in the top right corner (above the “User Email and Permissions” box).
Note: The user whose email you enter in “Email” will receive an account activation email that will prompt them to set a password for access to AirIQ Fleet.