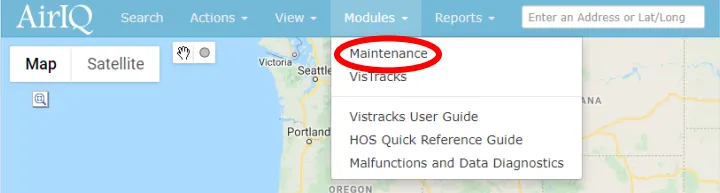
On AirIQ Fleet, select “Modules,” then “Maintenance.”
The Maintenance Module is located under the Modules drop down menu on the AirIQ Fleet toolbar, as indicated in the image below:
Upon selection of “Maintenance,” you’ll see a screen with all of your company’s assets, each with “Schedules” and “Service” buttons respectively:
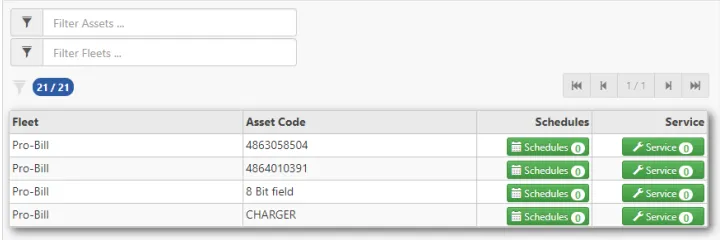
You can use the “Filter Assets” and “Filter Fleets” fields above the table to search for an asset or fleet you’re looking for.
Select the respective "Service" button for the asset you wish to modify.

You will then see the following screen, showing any scheduled maintenance you already have, or in this case, nothing, as we have not added any schedules yet. You will also see the last reported engine hours and odometer.

Select “+ New Service Record” in the top right corner and fill in the service details as prompted.
You will then see the following screen:
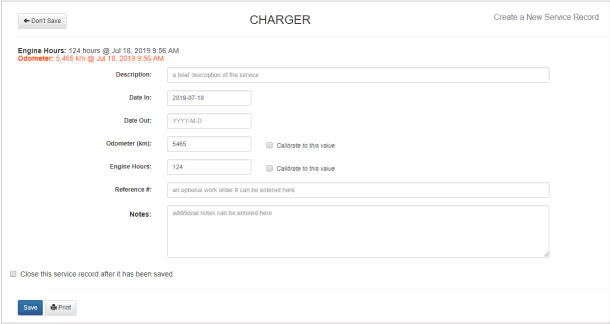
If you want to keep the service record open for completion later, select “Save.” Otherwise, to close the service record now, select “Close this service record after it has been saved,” then select Save.
This will add a new service record to your asset
To close an open service record, open the service record by clicking

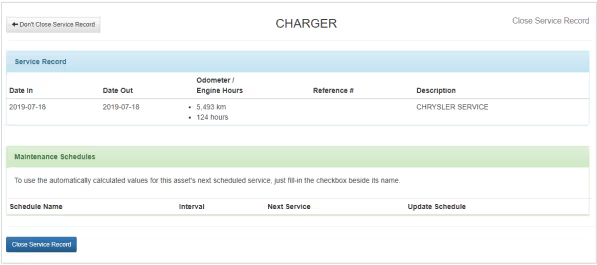
The following screen will show up, showing the details of the service record you are closing along with its maintenance schedules if there are any:
Select:

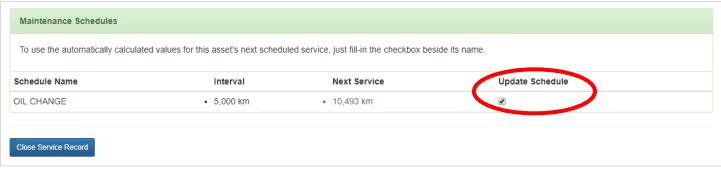
Note: If you have maintenance schedules attached to this service record and you want them to update automatically, check the “Update Schedule” box before closing the service record.
Otherwise, you will need to manually update the maintenance schedule. You will also not receive maintenance reminder notifications by email.